|
Since my first
test model Fokker DR1 was such a
pain but proved I could get it to
fly, I am starting a new build from
scratch to fix all the problems
I discovered with the Mk1 model.
Specs are: 12" W/S, KP-00 4.75:1
motor, 5" CF Prop, 140 Lipo,
JMP Rx, 2 x Falcon Servos. AUW of
Mk1 was 38g.
Throwing all the Mk2 parts and components
onto a scale without the glue weighs
in at 24g! Much more respectable
weight.
Firstly, the new build does not
have a built up fuselage like the
old one had, instead opting for
the plain 2 balsa sides held open
with a few formers method.
Here a piccie of the old fuse where
I used a guillows type backbone
style to build around.
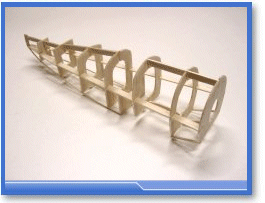
And here's the progress of the new
build. I forgot to snap it step
by step but we all know what to
do with 2 fuse halves and 4 formers,
right?
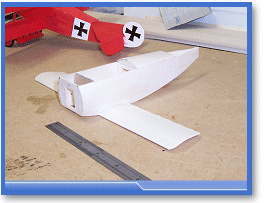
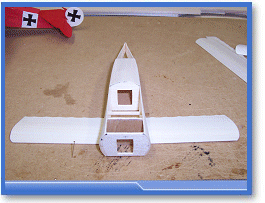
The bottom wing is fixed in place
but the top two wings are mounted
on a removable fuse section to allow
me access to the r/c gear. The big
mistake I made on Mk1 was to install
the gear permanently and build around
it. This time I can get full access
to everything.
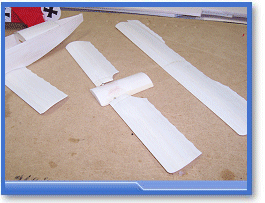
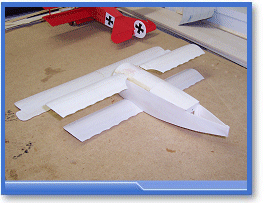
Next I mounted the top wing and
in this piccie It is showing how
the upper wings section mounts on
the fuse:
Mounting the top wing was a real
time hog last time so I decided
to use a few guides to make it easier
this time around.
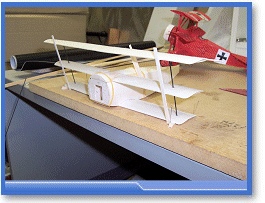
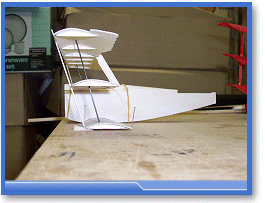
I tacked a strip of balsa to each
of the middle wings LE as a guide
to the location of the top wing.
Then I glued in the CF struts to
the centre wing after carefully
checking they were the correct length.
Then I rested the top wing on the
struts and jacked up the rear end
of the top wing to achieve the correct
incidence with another piece of
balsa and tacked that to the TE
and fuse. Once the CA dried I flipped
it upside down and glued the struts
in place. The balsa guides simply
snapped off as I used only a tiny
amount of CA.
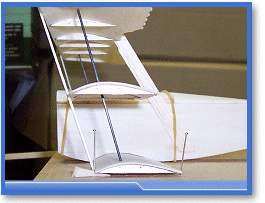
Here's a close up showing the setup:
Then I mounted the cabane struts:
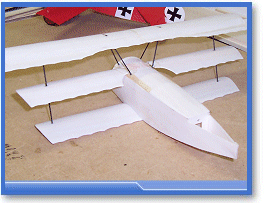
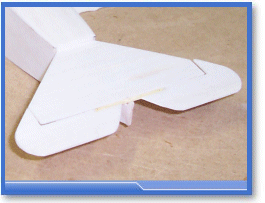
I made up the
elevators and connected the tailplane
to the fuse before sticking them
on:
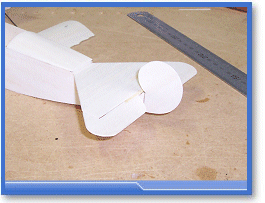
Then attached the rudder:
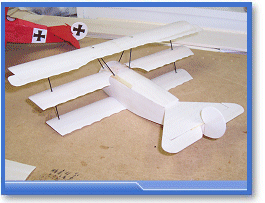
Just the LG and cowling to go! AUW-9g
so far. The old one weighed AUW-17g
built.
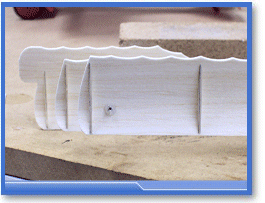
To hold the interplane struts to
the bottom wing I placed a pea sized
ball of clear silicone to the underneath
of each wing where the strut passes
through. Once cured I sliced it
to allow a nice snug and sticky
grip of the strut. It actually tightens
when I tug at it so it's a bonus.
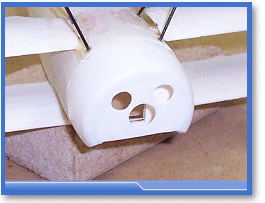
Moving on to the
cowling - I made a beauty but cut
the bottom a little short and so
it was useless. Unfortunately it
was my last plastic cup that was
ideal for the job. I made do with
an alternative piece and after quite
a bit of work managed to get this
one looking ok. It is just seated
against the firewall in this shot
as I have not fitted locator pins
etc yet. It came in at 0.92 g which
I think is ok for the result it
produces on the model.
The first cowl
took 2 minutes to form and I was
done, but this one took forever
as it is of a different material
and I had to test several cups to
find the right way to shrink it
before going for it. Amazingly,
I didn't make a cast as I did a
search through my house for anything
that might do as a cast to speed
things up - lo and behold, I found
a little glass vitamin jar with
a curved base and of the exact diameter
I needed.
I attached the
cowling via 2 locators and a rubber
band hook system.
I then constructed the landing gear,
sub-wing and wheels and fixed them
to the fuse:
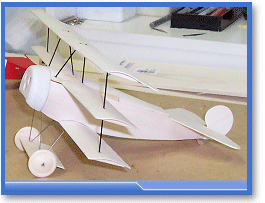
I have cut out the cockpit - a little
hard to see in the photo but once
the inner bottom is colored black
it will be very obvious:
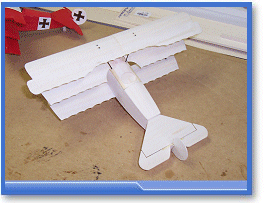
I used a single magnet to retain
the upper wing assembly to the fuse,
also installing the motor and servo's
into the fuselage:
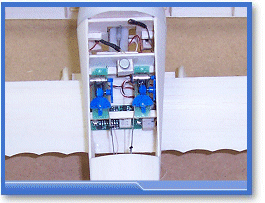
Rx and pushrods were then installed
and a prop saver retaining the CF
prop:
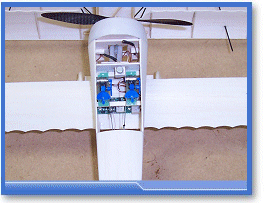
Now to balance it out!
I had to make some
changes after the maiden and it
made a real difference. I also had
added a small amount of incidence
to the middle wings. It flew so
much better than to date. I am really
close on getting it all right and
was really excited about this mornings
test flight results! It flew great
- climbing with good authority and
was real fun to watch as I flew
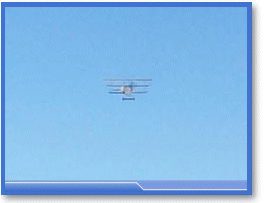
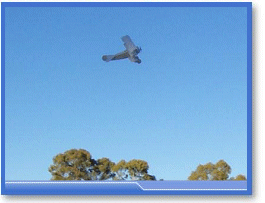
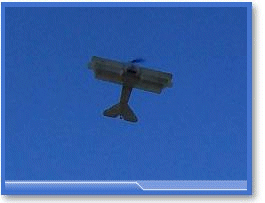
it. My flying buddy showed up this
morning and volunteered to take
some photos so here they are. He
did a great job as my digi-camera
isn't the fastest or best. In the
last photo you have to squint to
see the Micro Fokker in the top
right hand corner!
|